Test and Deploy
Deploying and Testing the Model in DaoAI World
Once the model training is complete, you can test your model in DaoAI World.
Testing the Model on the Validation Set
You can check the inform of inference time and GPU mode.
Select the model you want to test, then click the
view test set.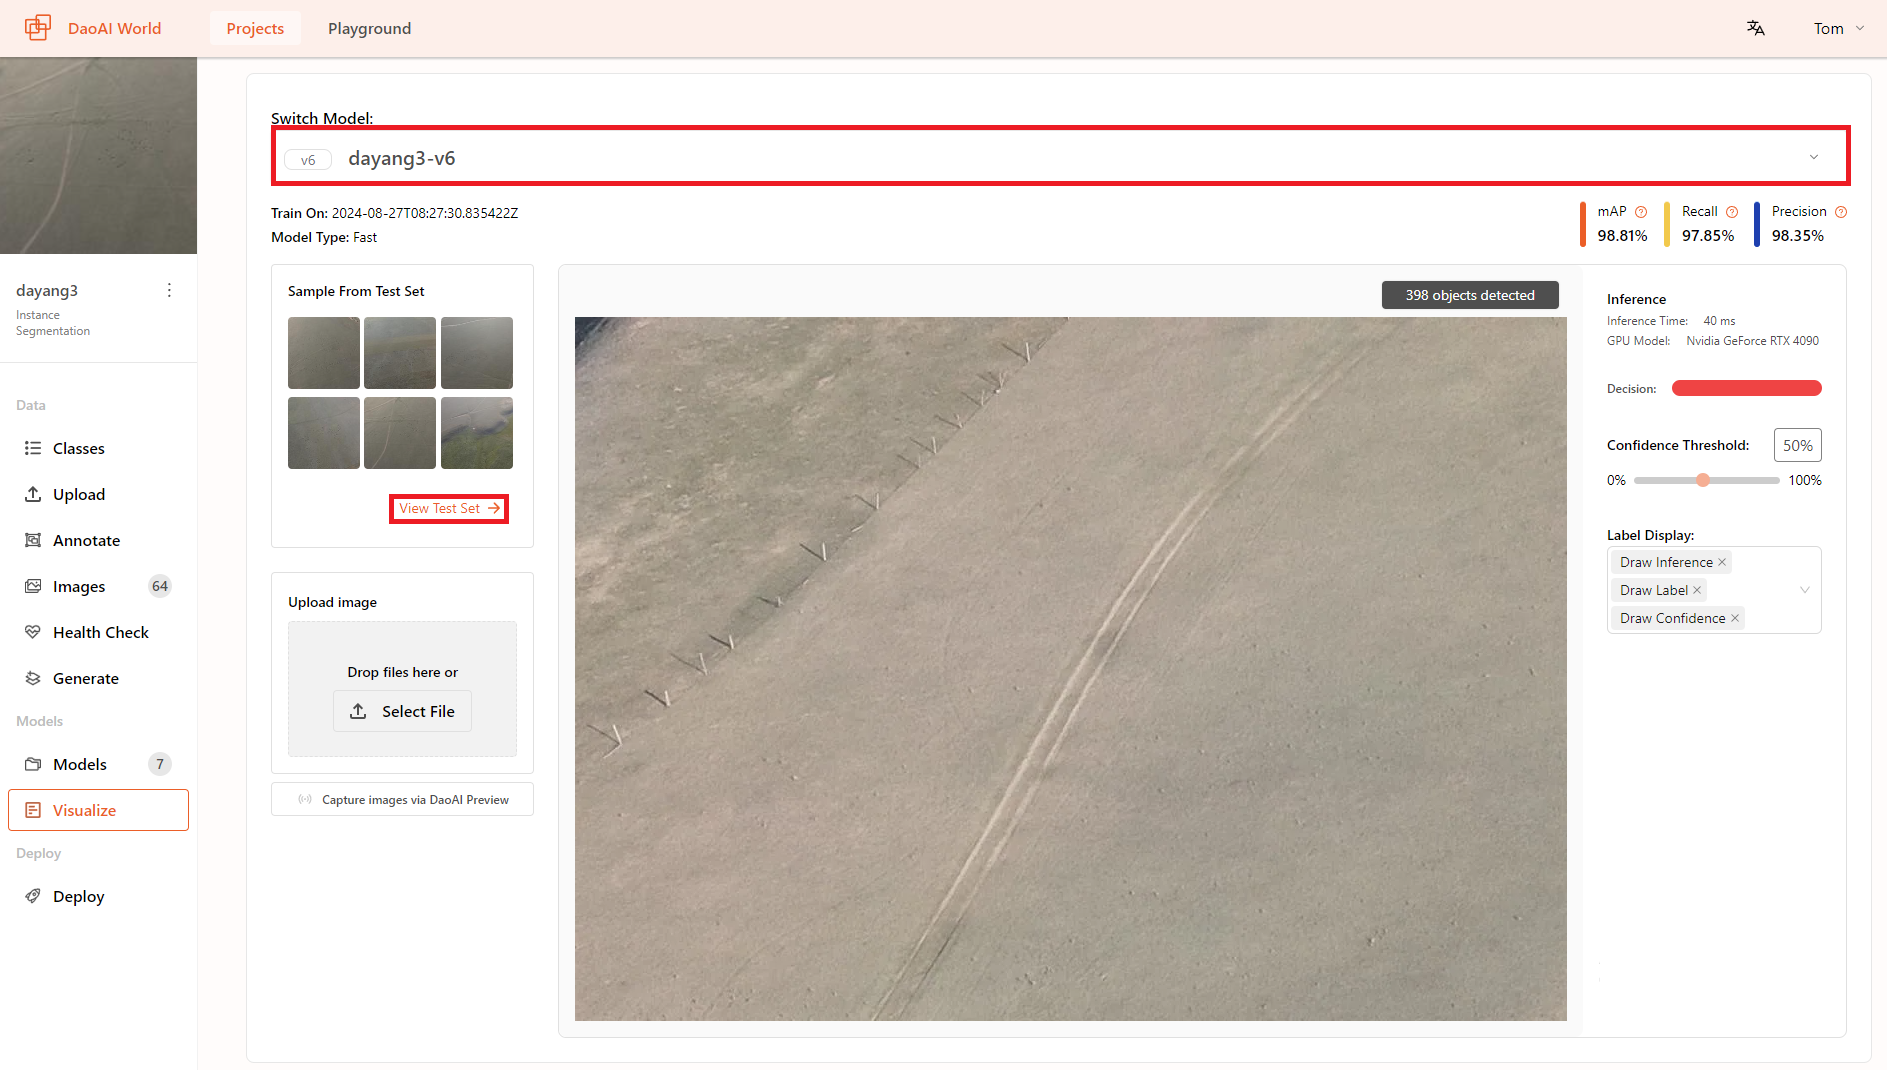
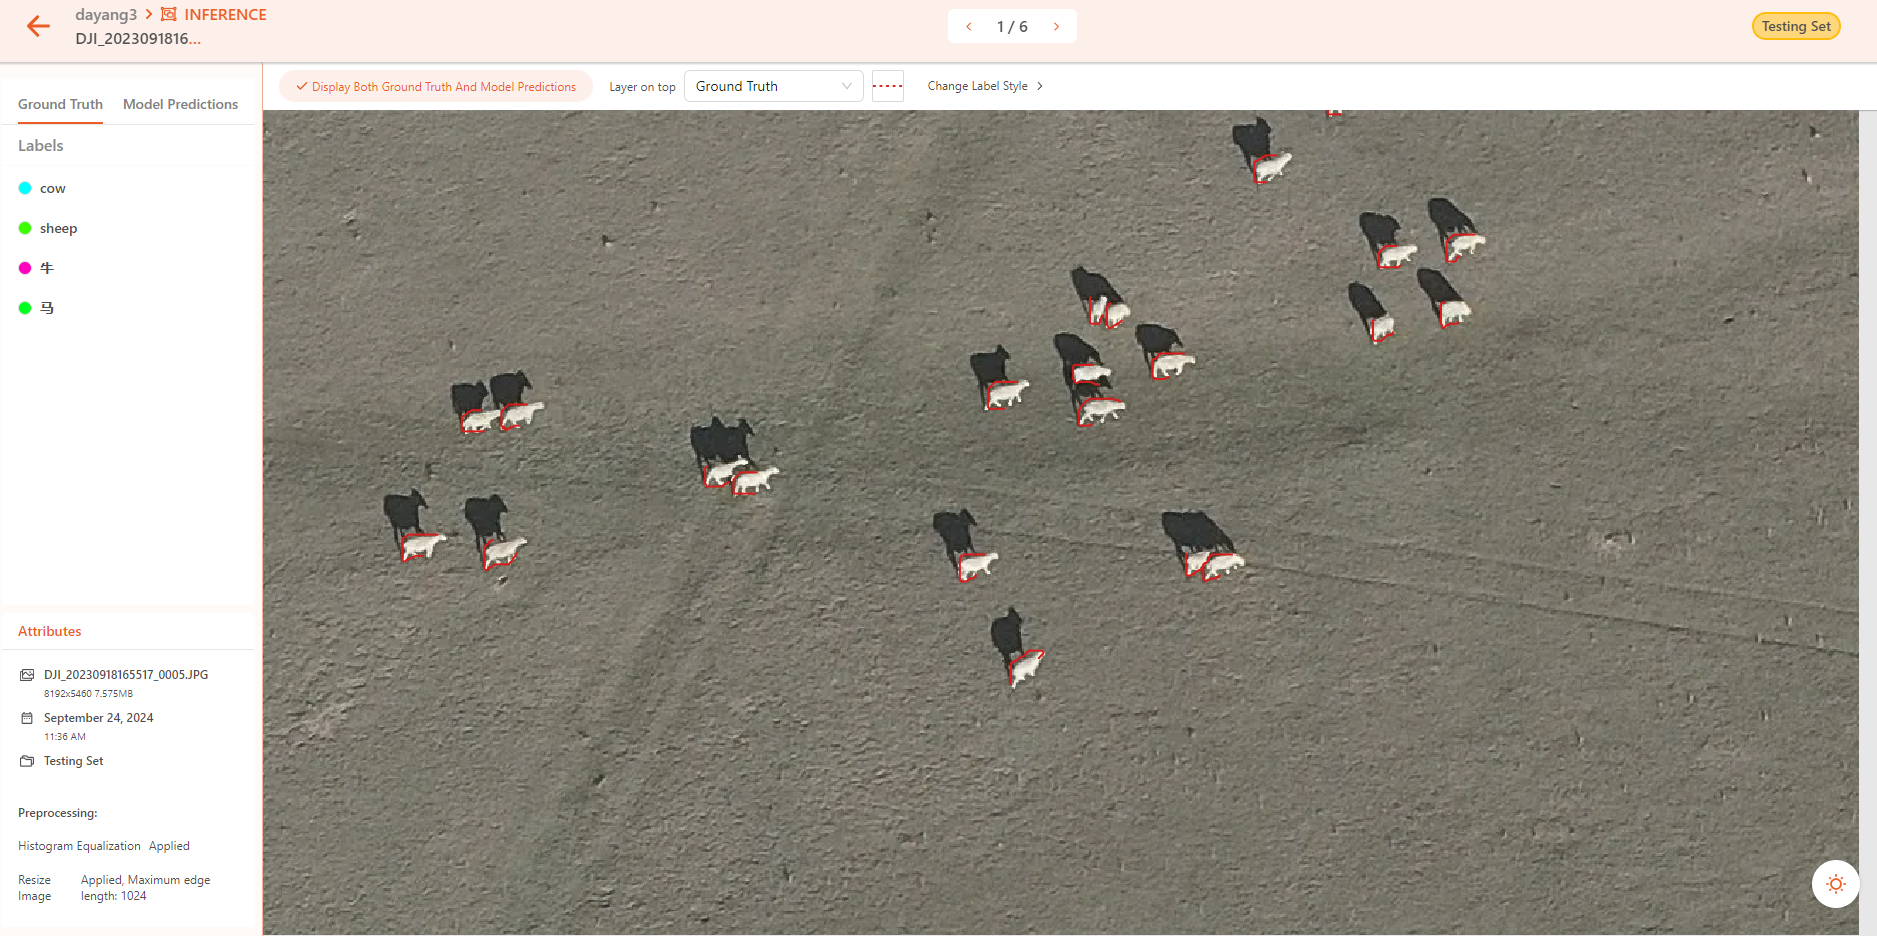
Then you can see the images from the training set, validation set, and test set. In the "Discrepancy set," all images where the predictions differ from the annotations are also listed.
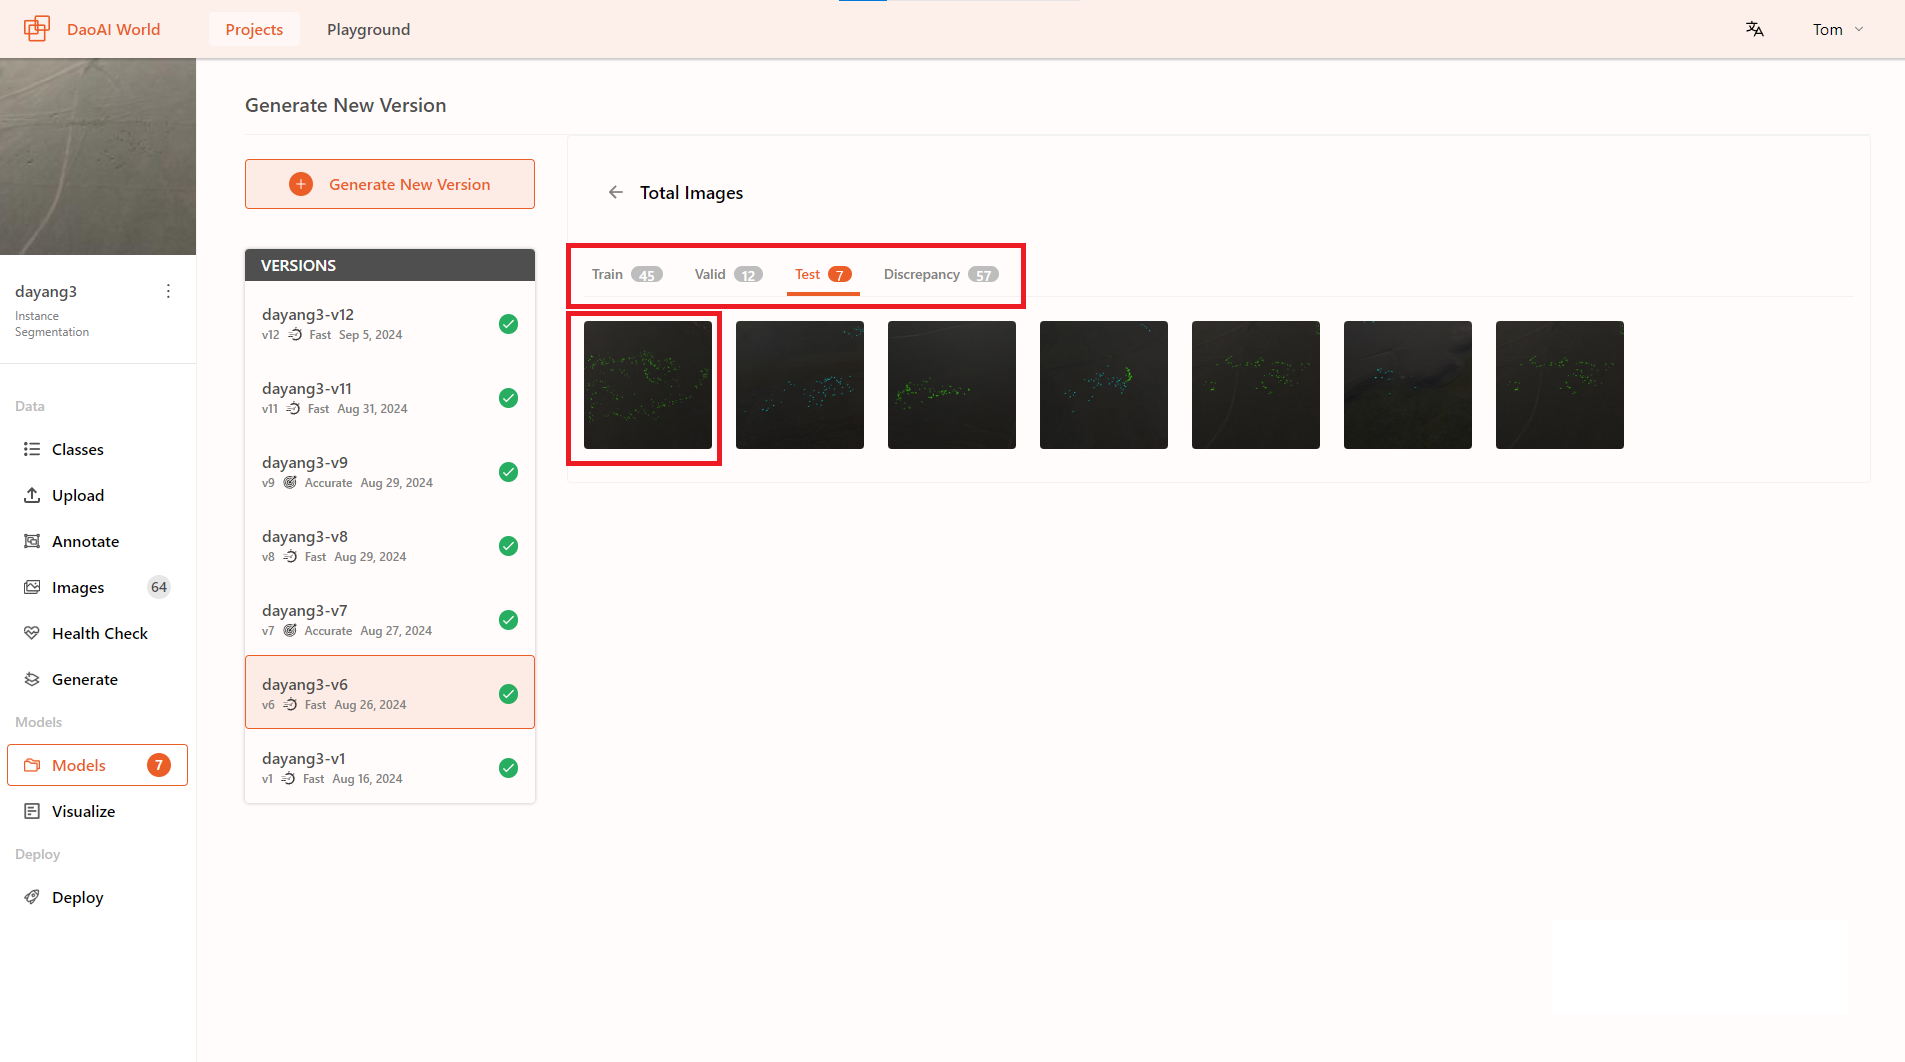
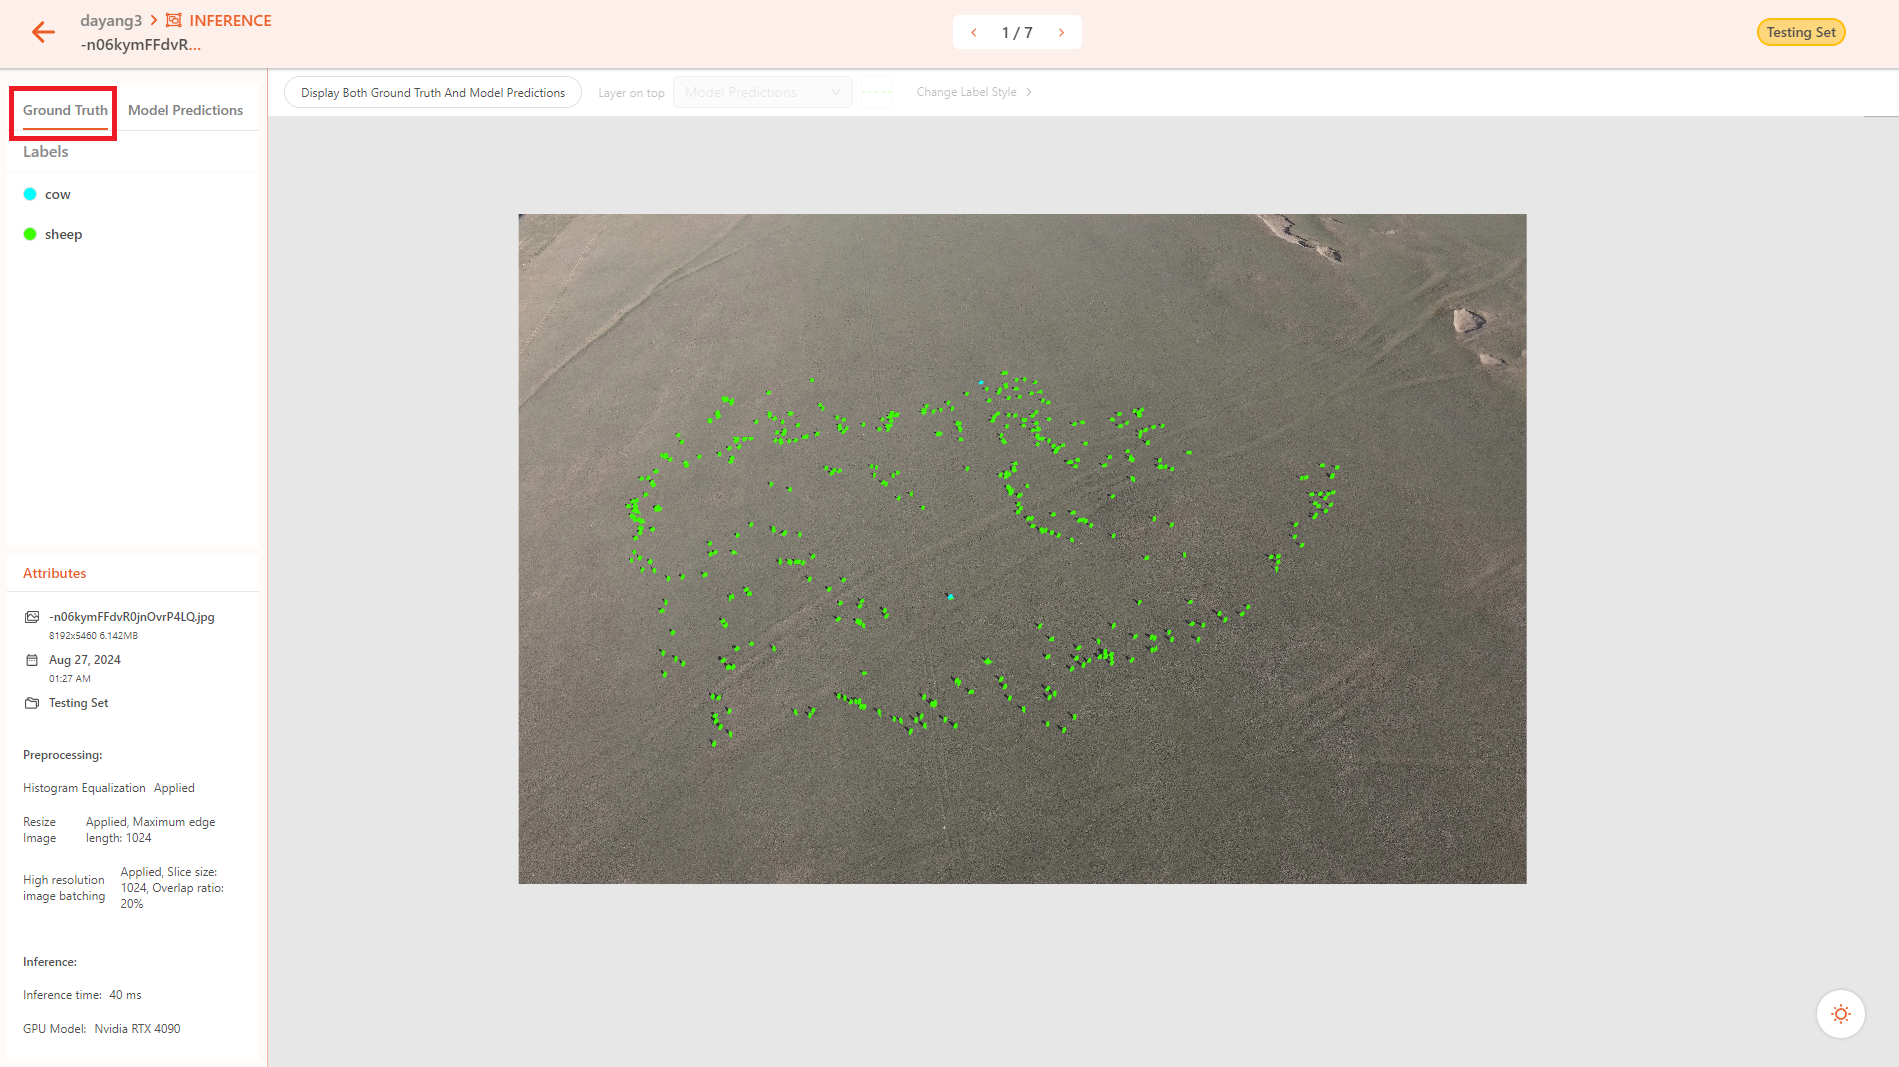
On the right side, you can toggle between the actual situation and the model predictions to compare the annotation details with the actual prediction results of the model.
Ground Truth
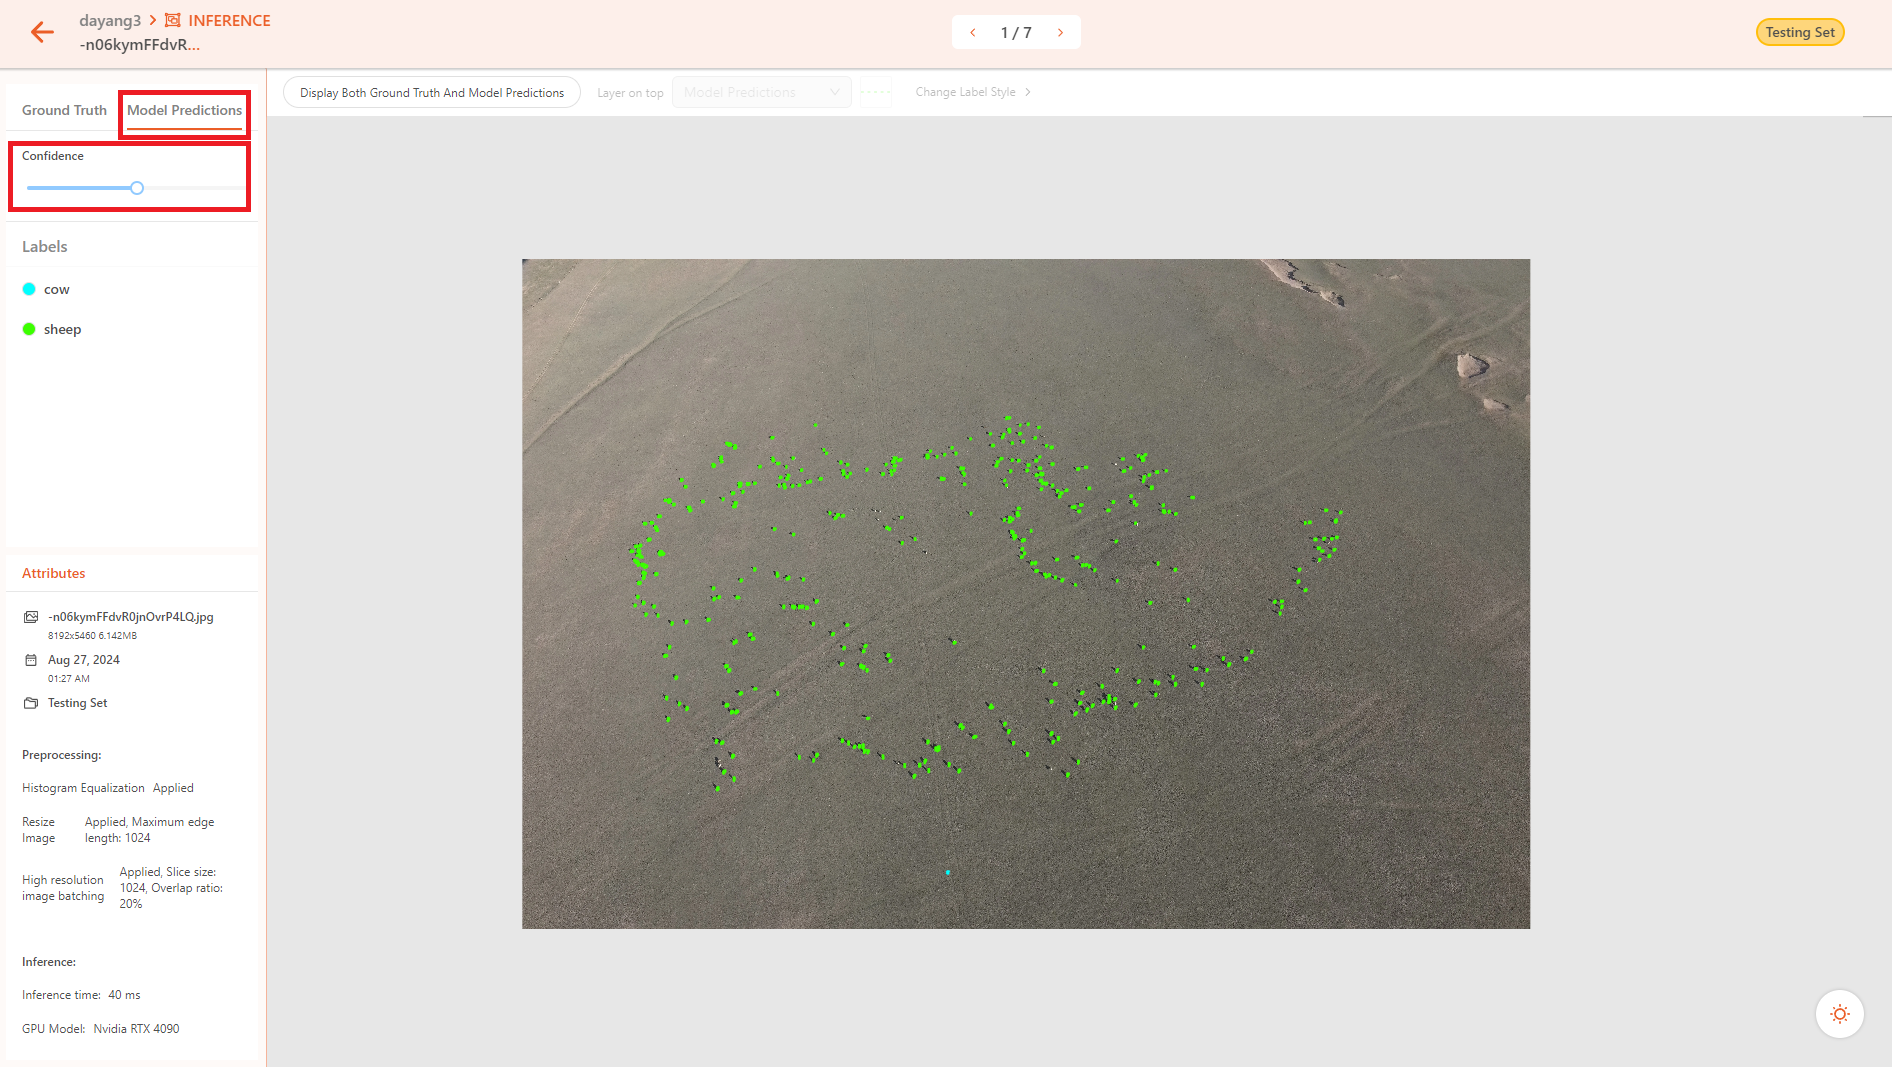
Model Prediction (You can drag the confidence threshold slider on the left to filter out model predictions with low confidence levels.)
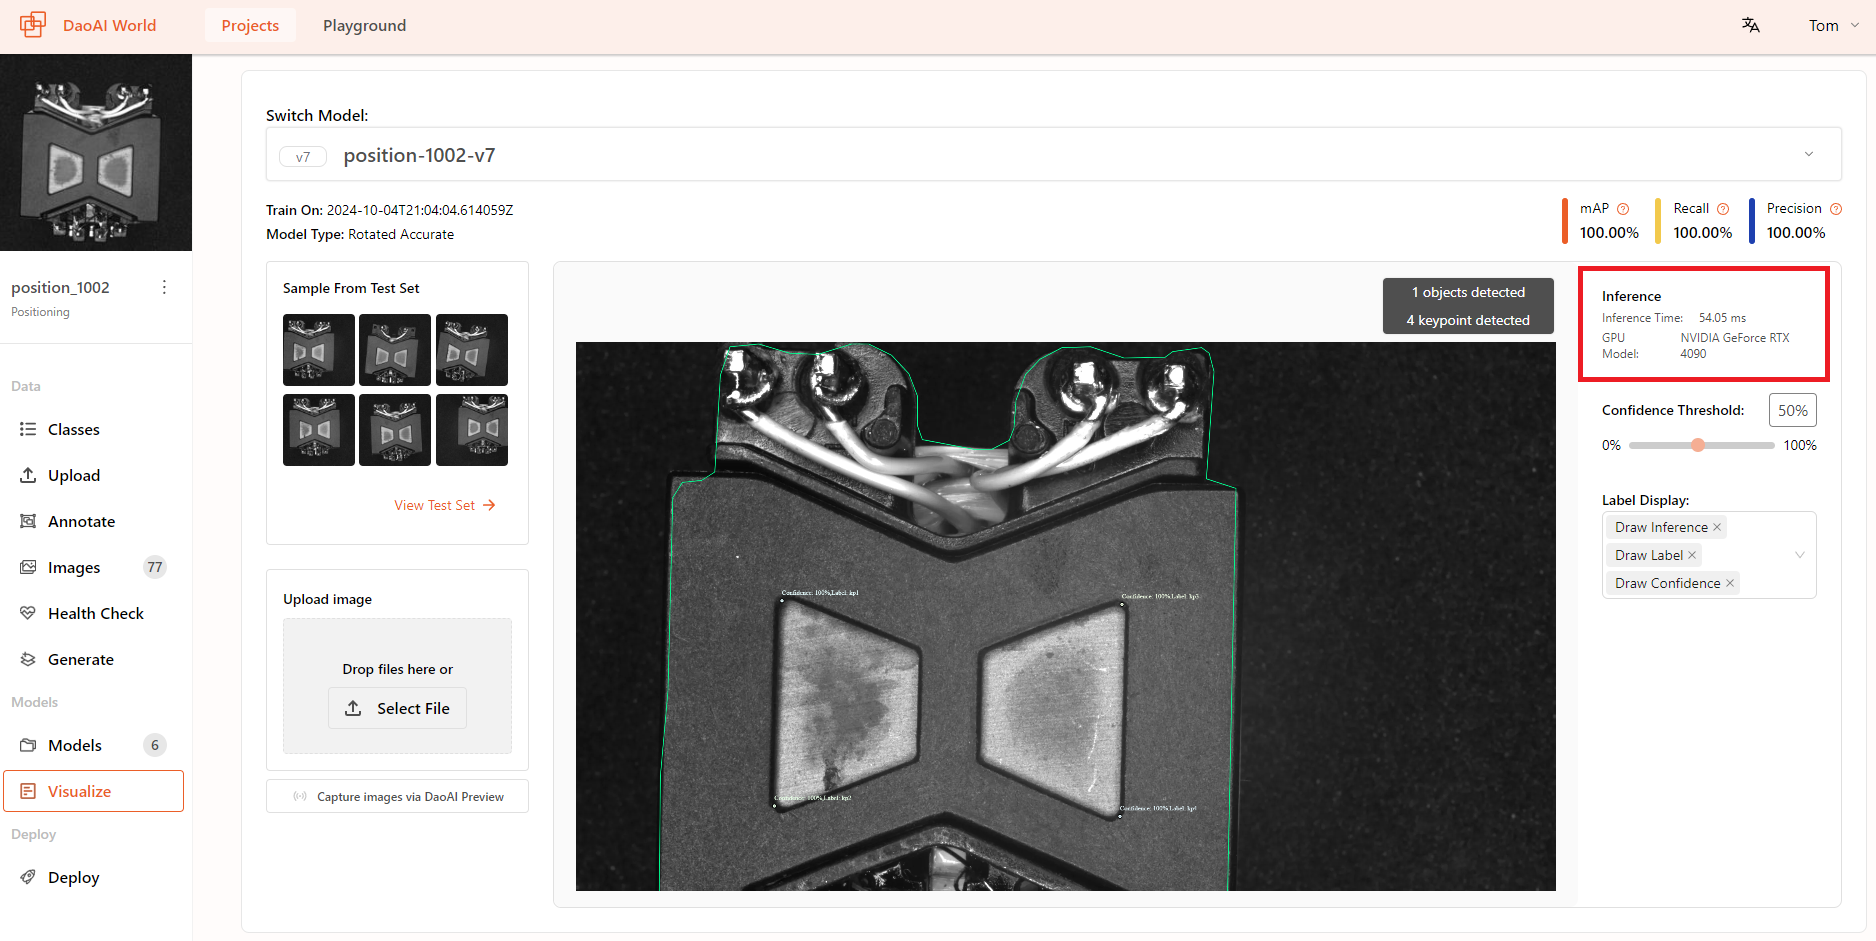
Upload an image to test the model
On the project sidebar, select Visualize to enter the visualize page. At the top, choose the model you wish to deploy and test. Then, either click Select File or drag and drop the file into the upload image area to upload an image.
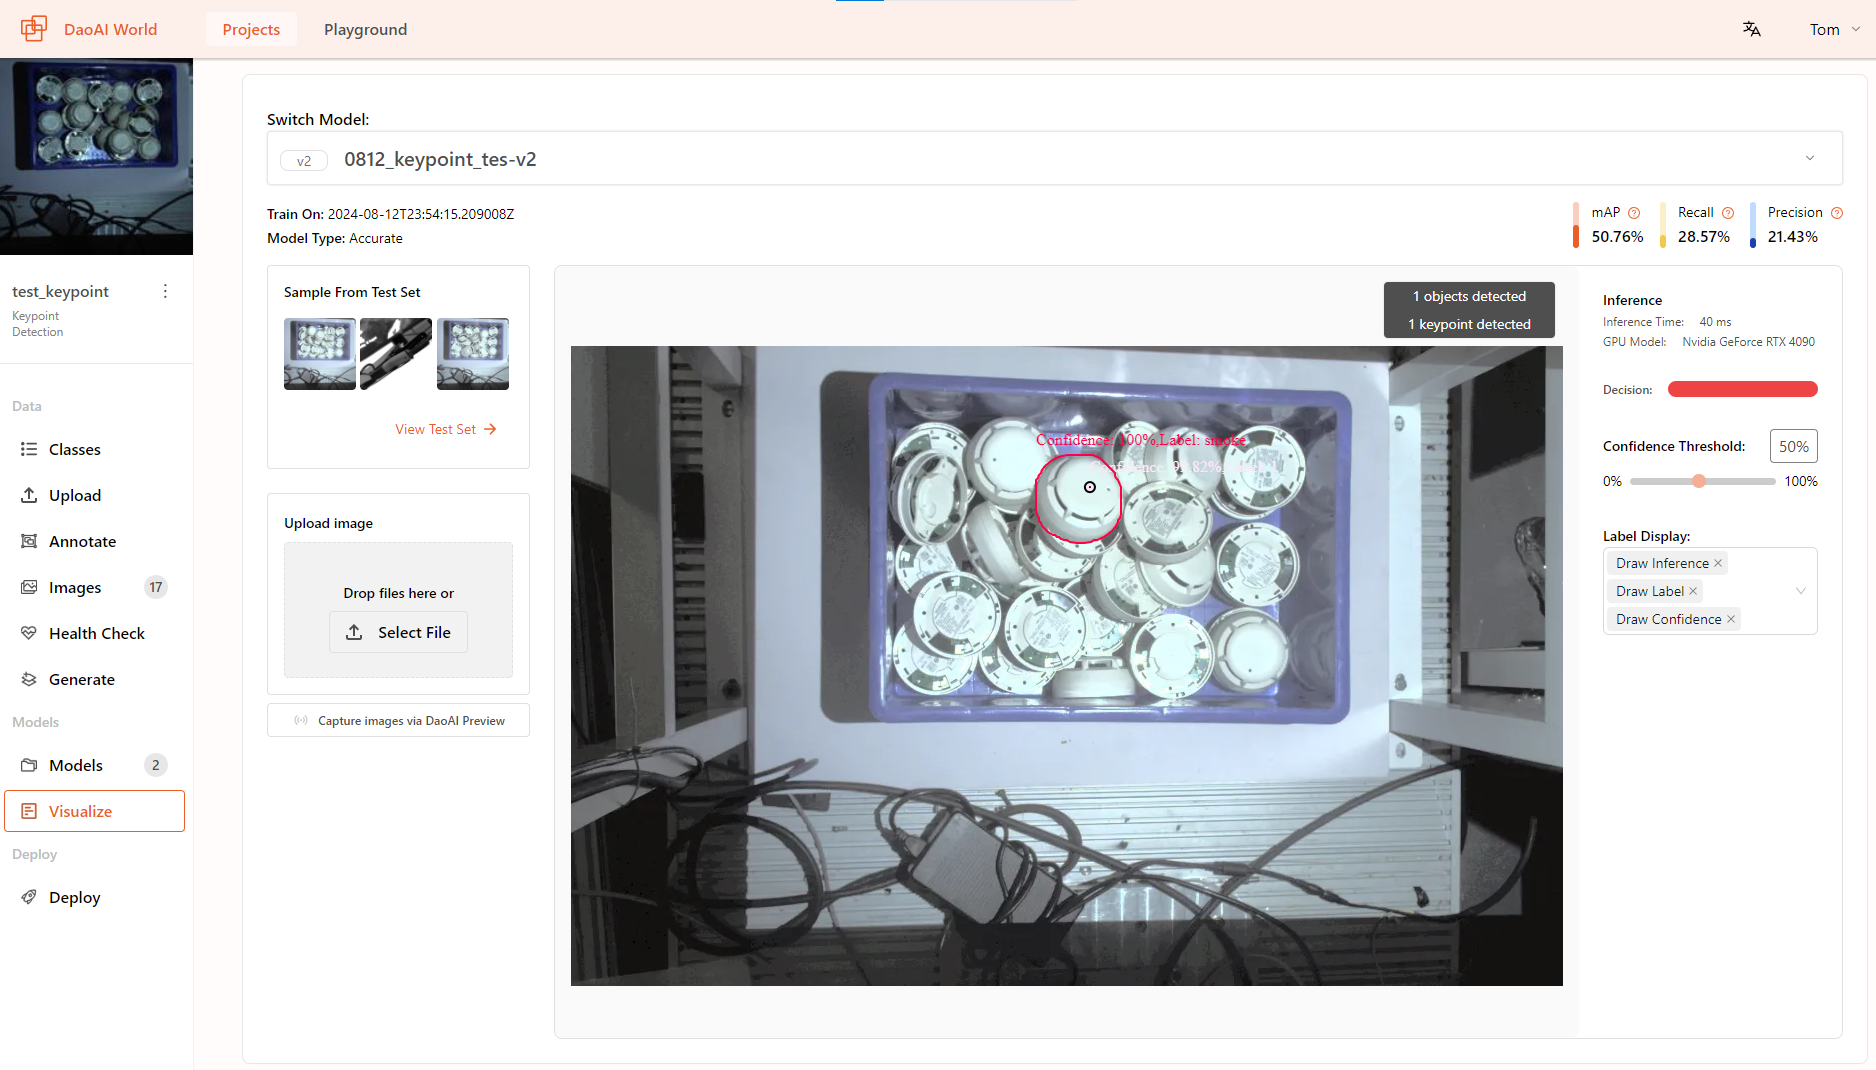
After uploading, the model will perform inference on the uploaded image. Once completed, you can view the model's recognition results in the window. The top right corner will display information such as the number of objects and keypoints detected in the current image.
Additionally, you can adjust the Confidence Threshold on the right to filter out recognition results with low confidence levels.
View annotations and detection results at the same time
Click the Display both Ground Truth and Model Predictions button on top-left corner, user can switch to different display: Ground Truth and Model Predictions.
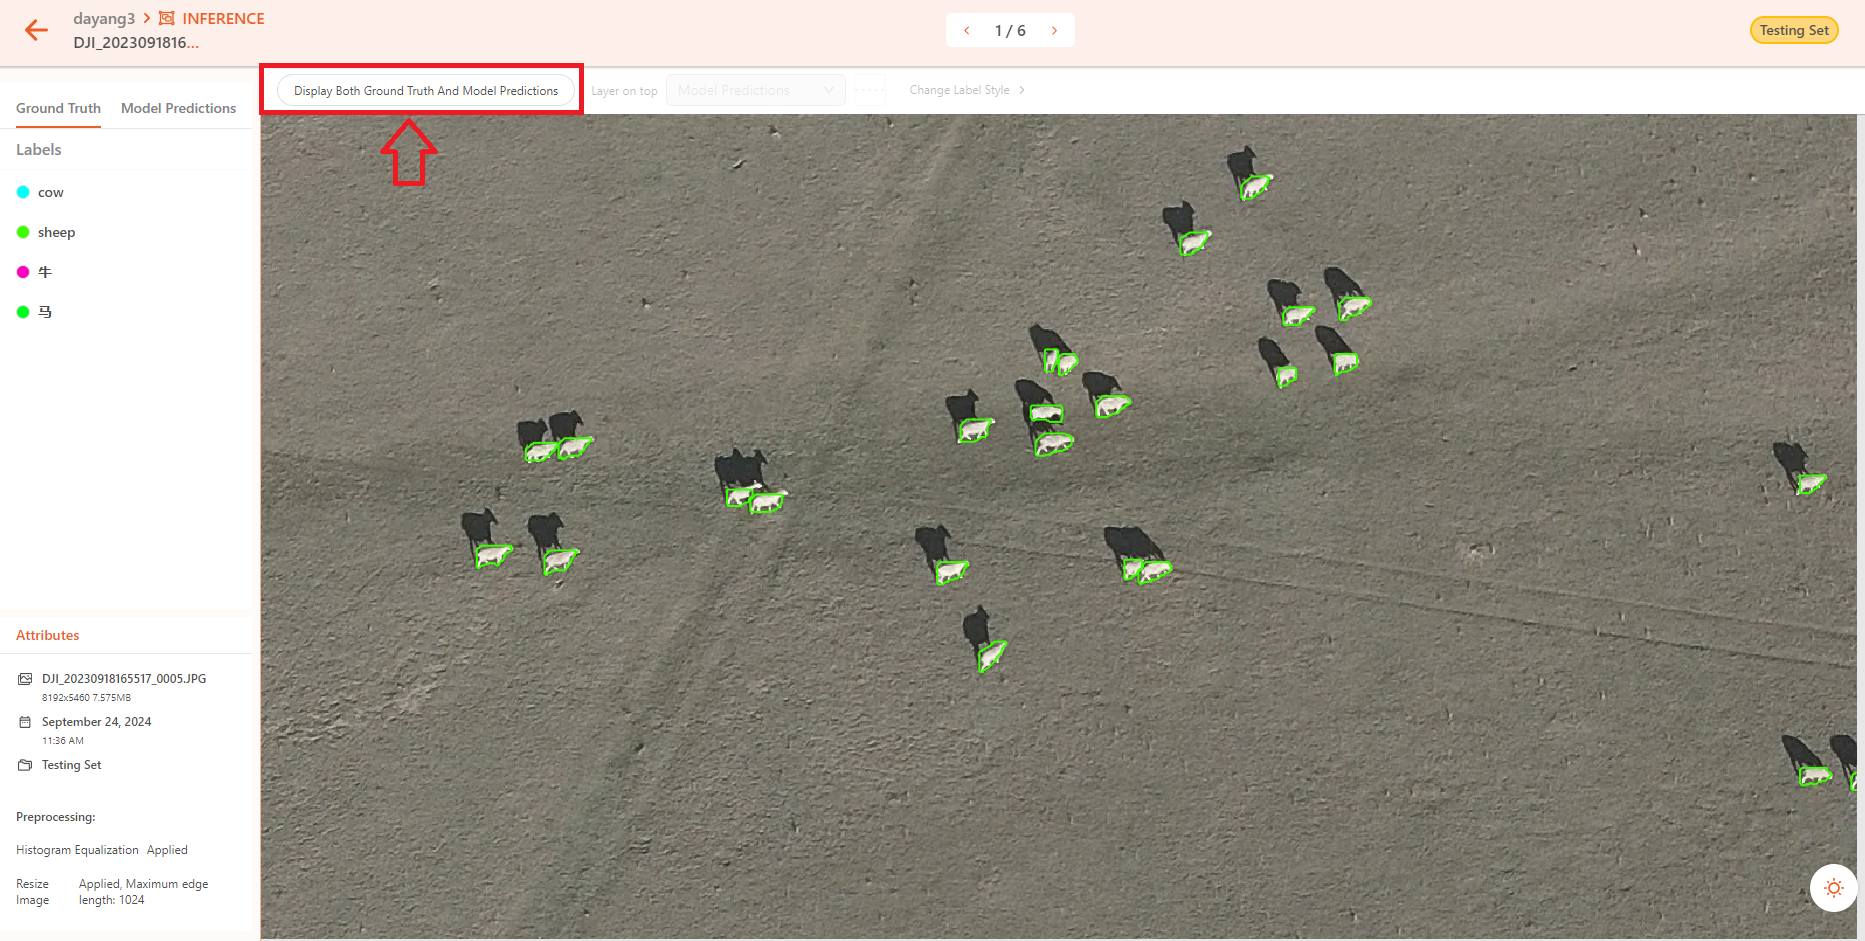
Click the Change Label Style button, after changing color user can simultaneously compare the annotation results with the model's predictions.
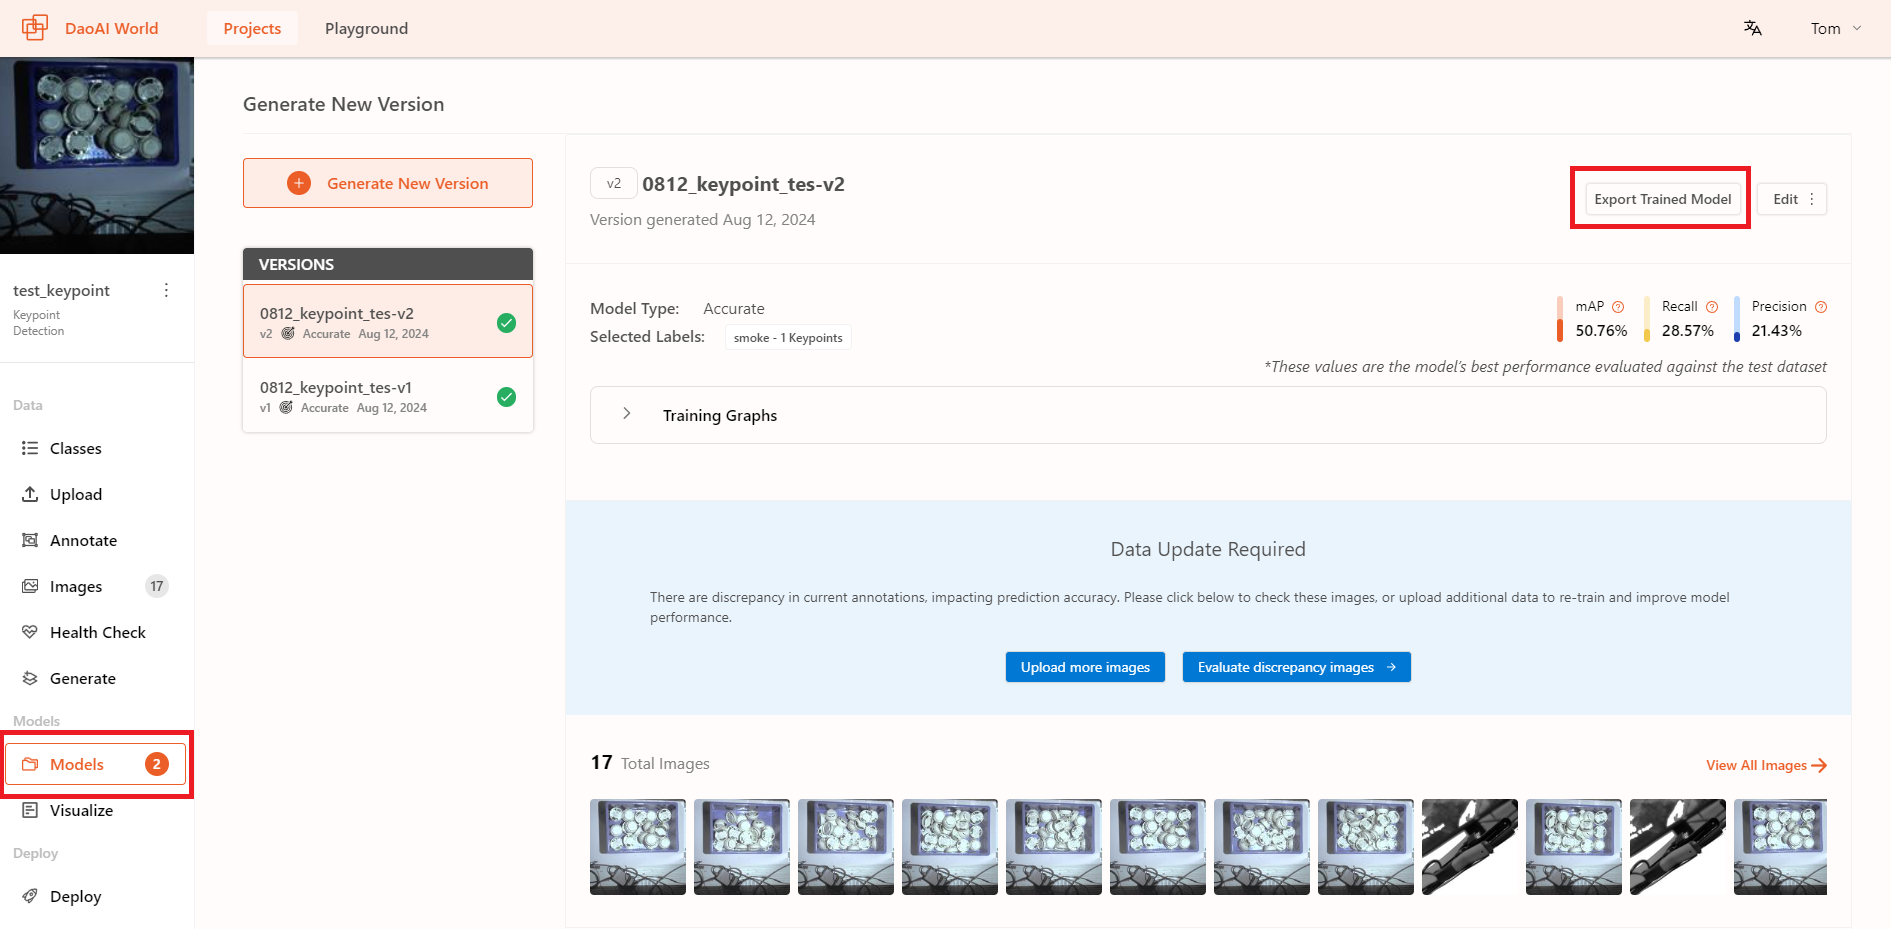
Deploying Models in Other Applications
Once model training is complete, you can export the trained model to your local device and use it in other applications.
The exported model files support
.dwmformat.
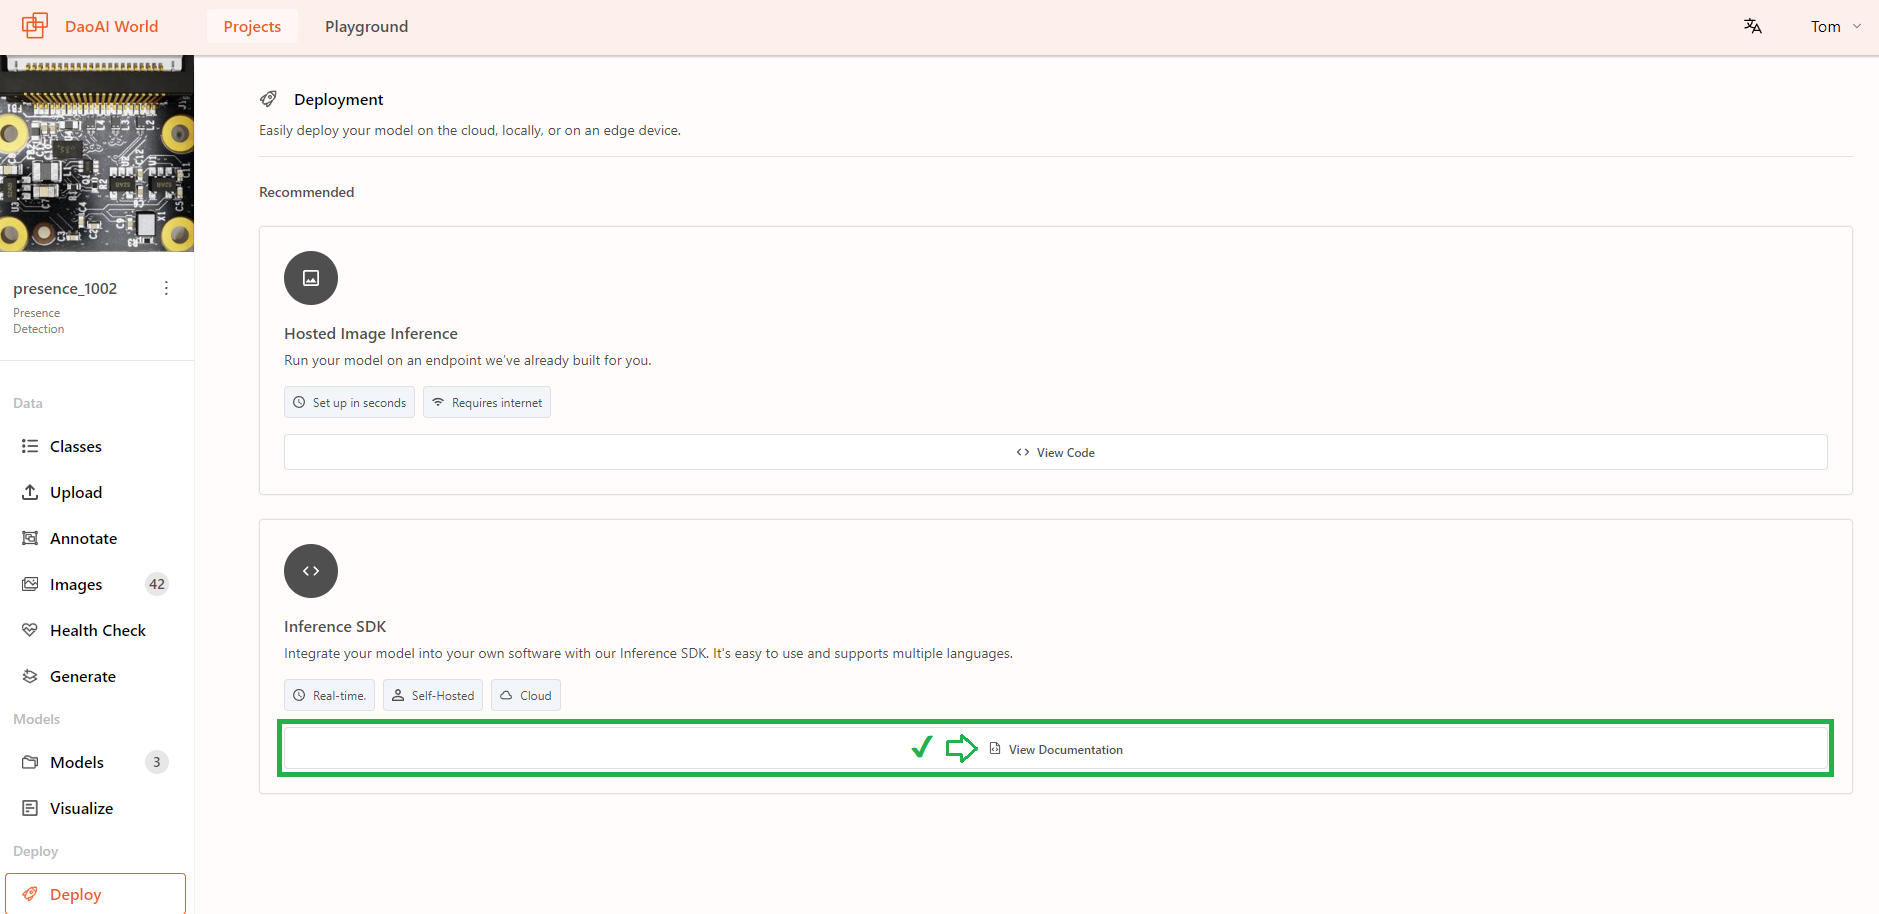
Model Deploy
Click on Deploy button to the model deploy page. You can easily deploy your model to cloud, locally, or on an edge device.
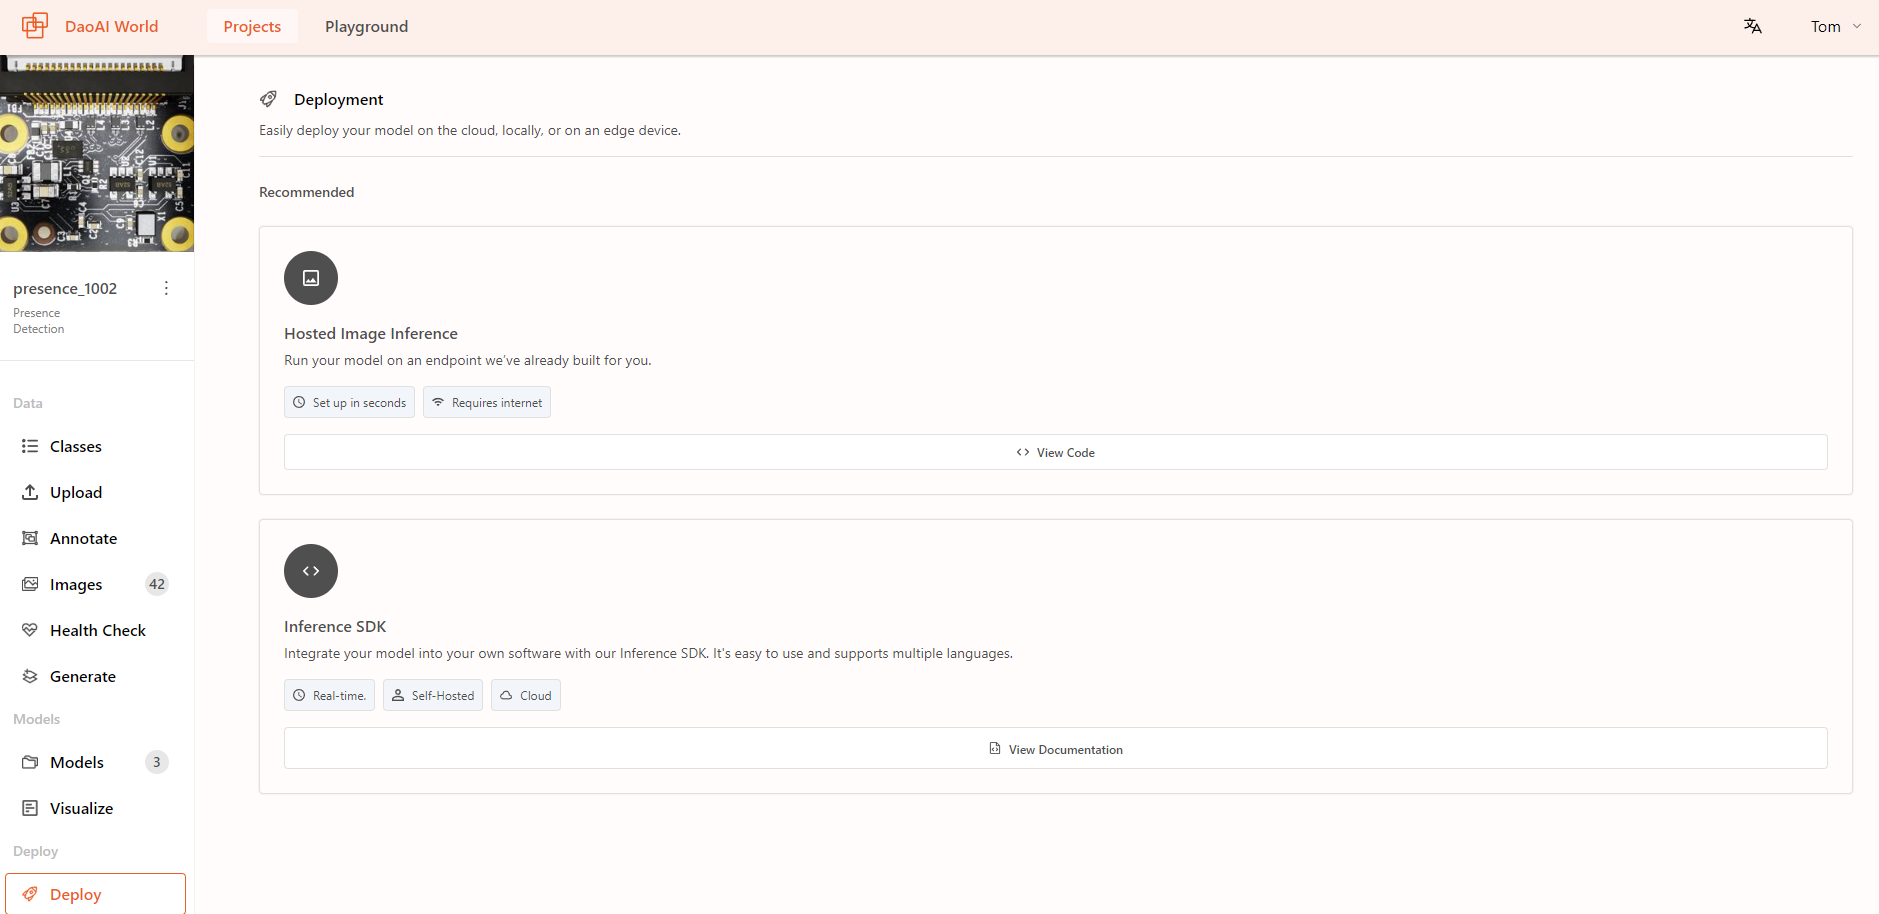
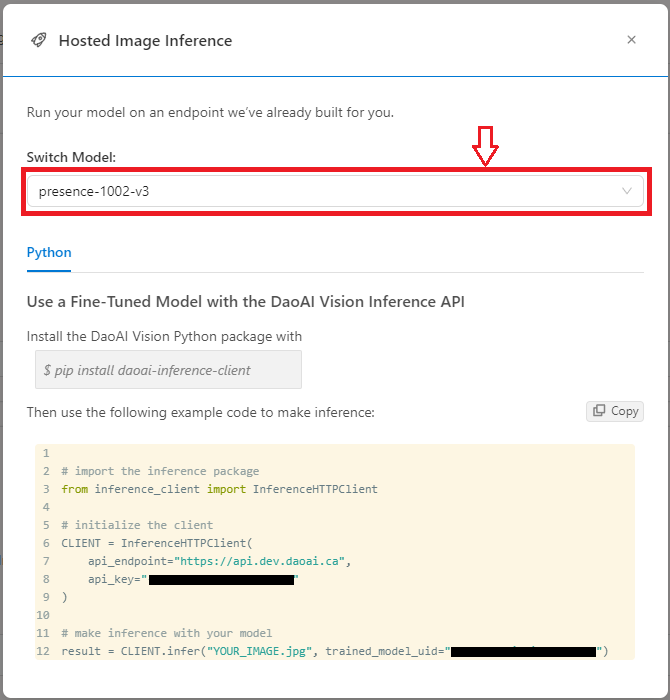
Click on View Code button on Hosted Image Inference, you can see your trained models in differrent versions. You can use the example code to make inference.
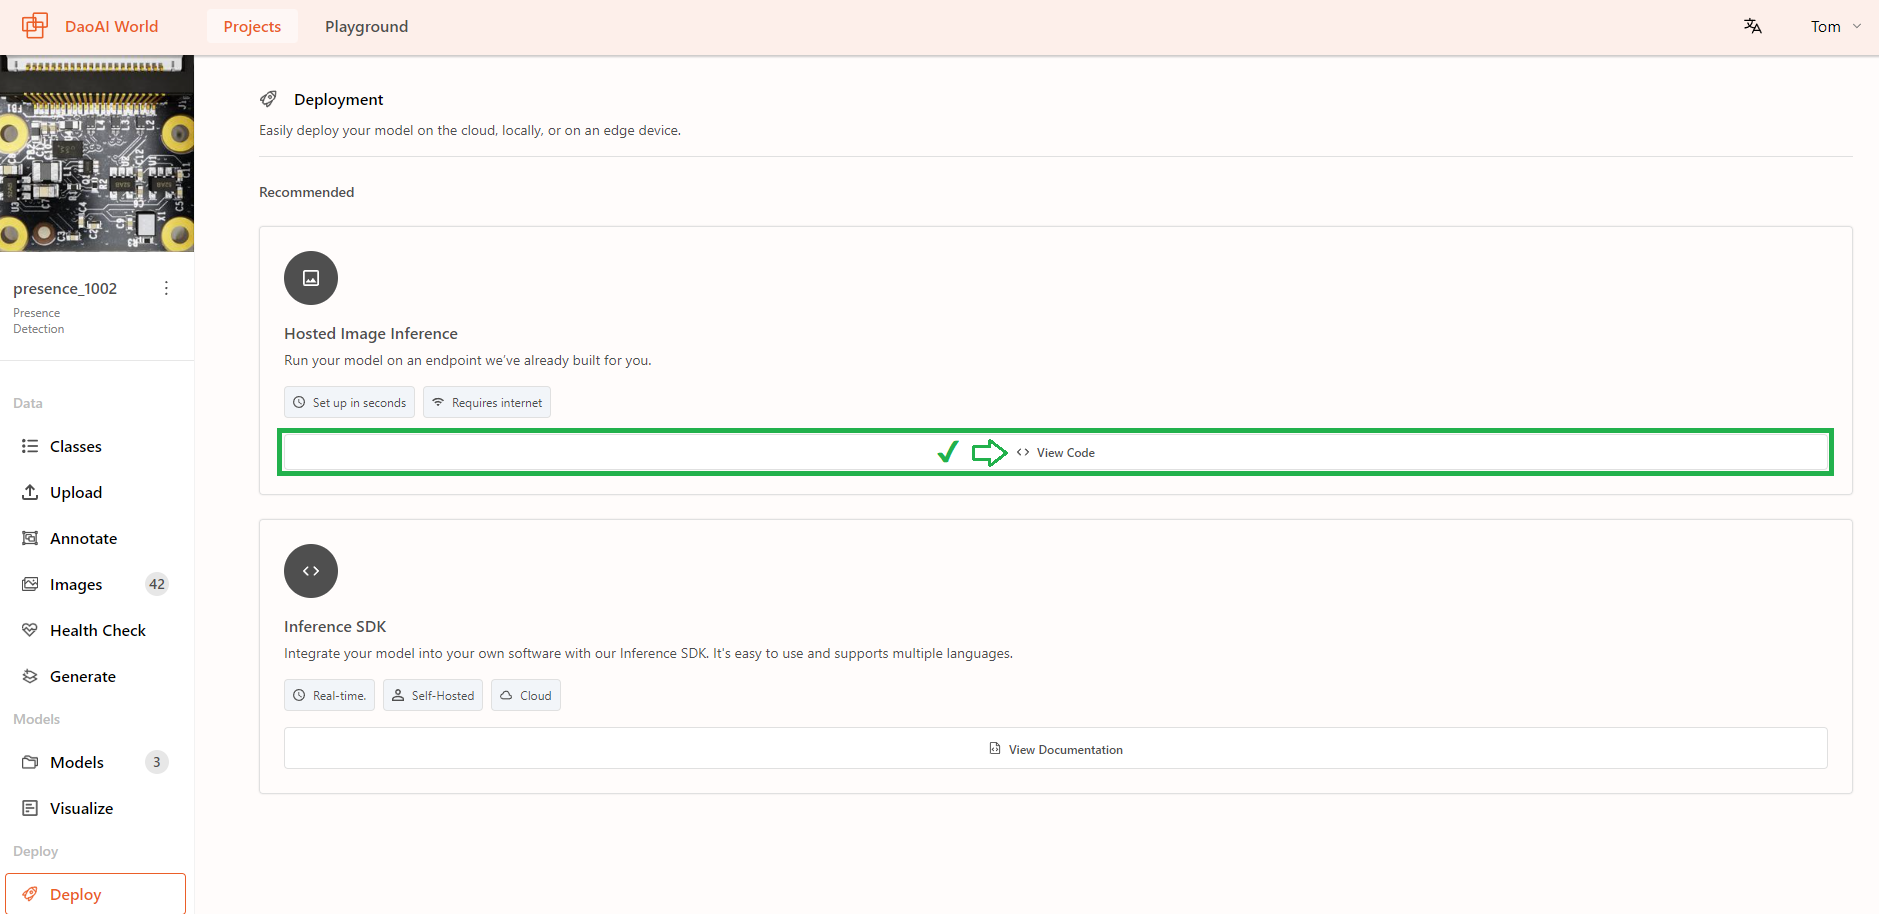
Click on Switch Model to switch from different versions, different version has different trained_model_uid.
Click on View Documentation will redirect to DWSDK chapter of this document. You can also read the detailed document from Development Features.