滤波器
本节介绍用于预处理和后处理图像的过滤功能,以提高点云质量。
滤波器分为4个大类
每个大类都有各自的预设值,也可以进行自定义。
异常值过滤 (Outlier)
离群阈值(Outlier Threshold Level)
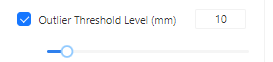
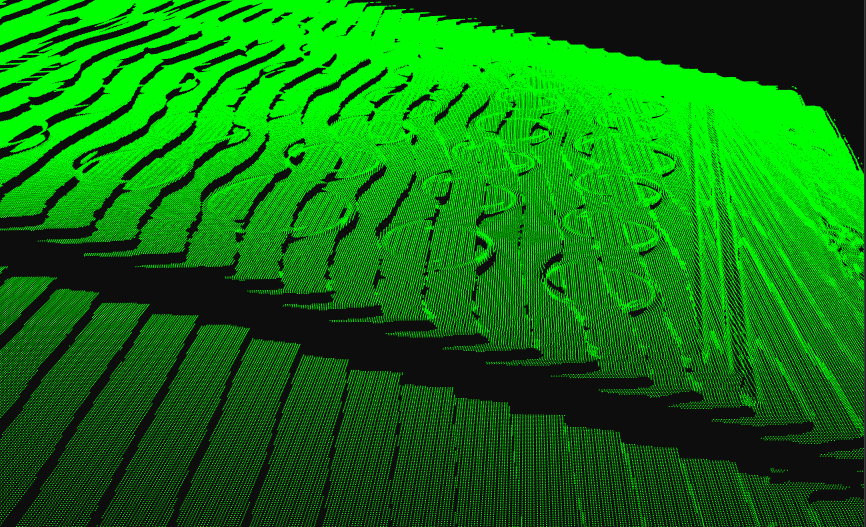
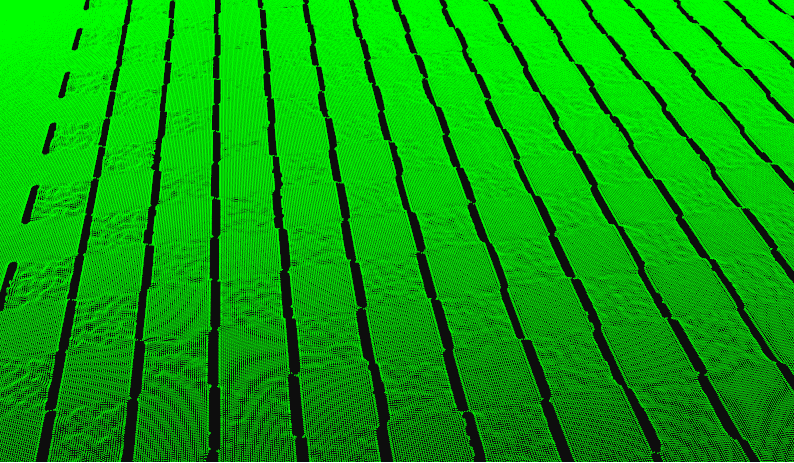
过滤掉与最近的邻接点超过一定距离的点。由于物体的表面都是连贯的, 如果有单独于其它点云的点, 那么就很可能是噪点。 例如, 如果设置为3mm, 则判断相邻两点的直线距离是否大于3mm。 如果大于 3mm, 则该点被过滤掉。但是, 如果有多个离群值彼此靠近, 则此过滤器将无法过滤掉这些点。
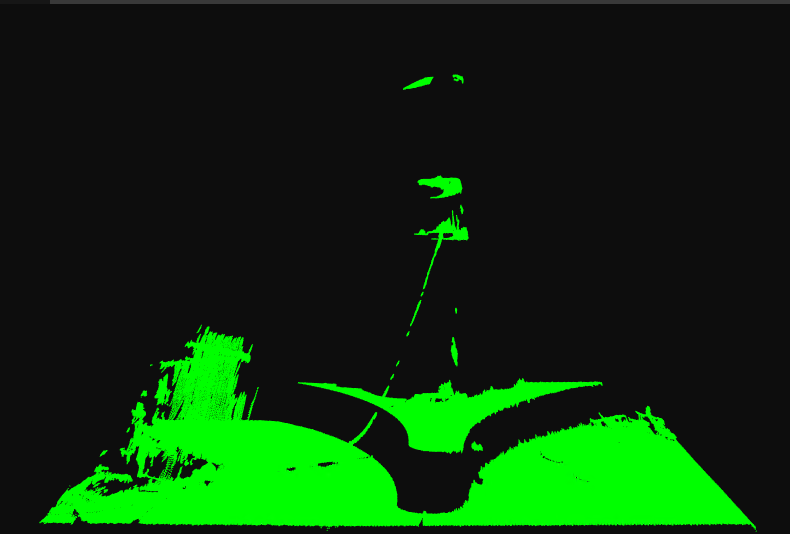
未设置离群阈值的点云
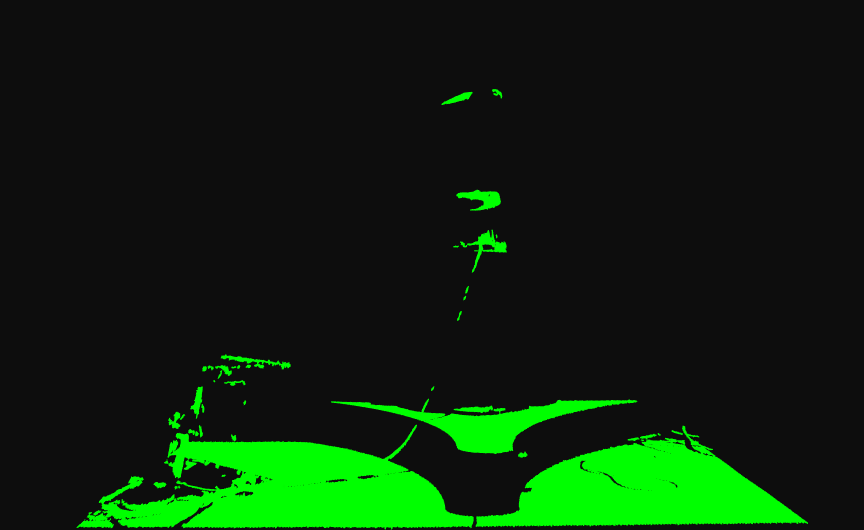
离群阈值设置为 3 毫米的点云
法向量滤波器
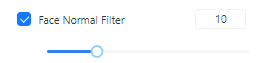
此过滤器分析点云多边形网格以找到任何多边形的表面法向量。 如果表面法向量相对于视线的角度大于面法向量,则过滤掉这些点。 在具有尖角和表面法向量垂直于视线的大面积物体上,会出现许多异常值。 一个例子是一个盒子:由于噪声、低对比度或过度饱和的图像,墙壁有时会在点云中创建异常点。
如果没有这个过滤器,错误的点会出现在孔的边缘、锐化下降、垂直面等。
未设置法向量过滤的点云

使用法向量过滤后的点云
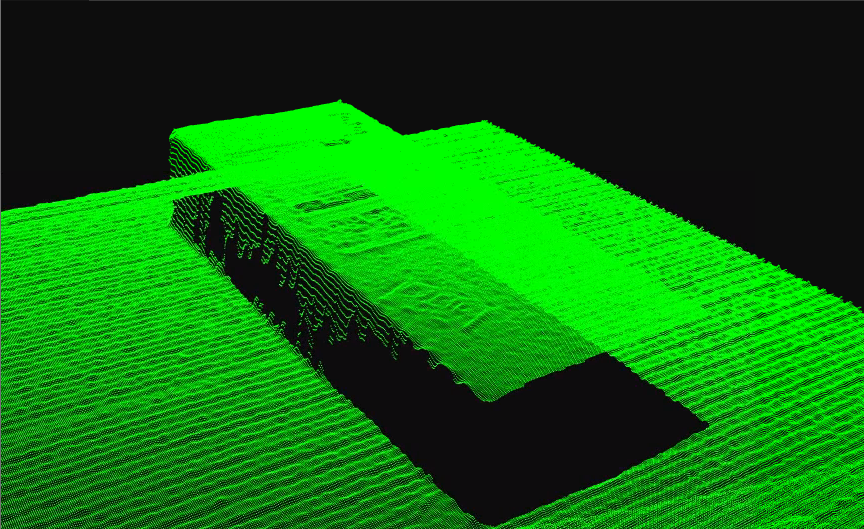
移除小型离散区域 (Cluster Filter)
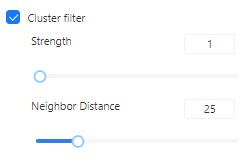
此过滤器用于过滤掉小块的点云。点云中的噪点多是以小区域的形式呈现, 就可以通过小区域滤波器去除掉。
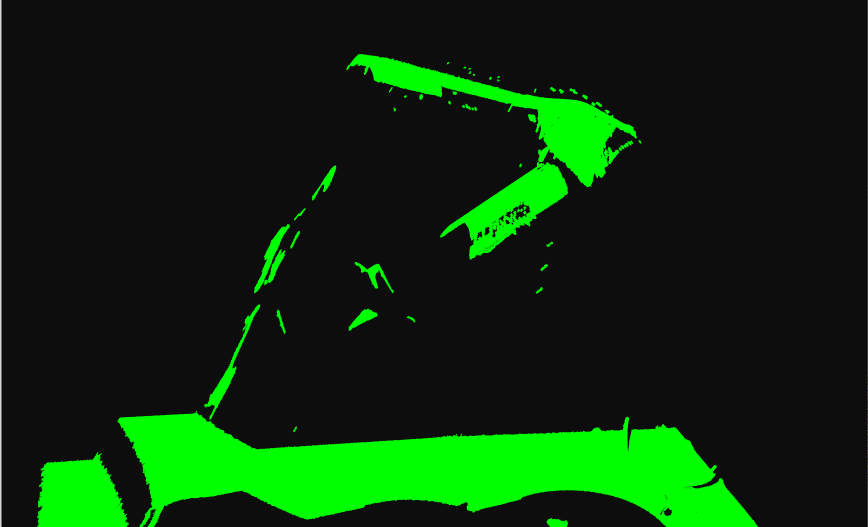
未设置小区域滤波器的点云
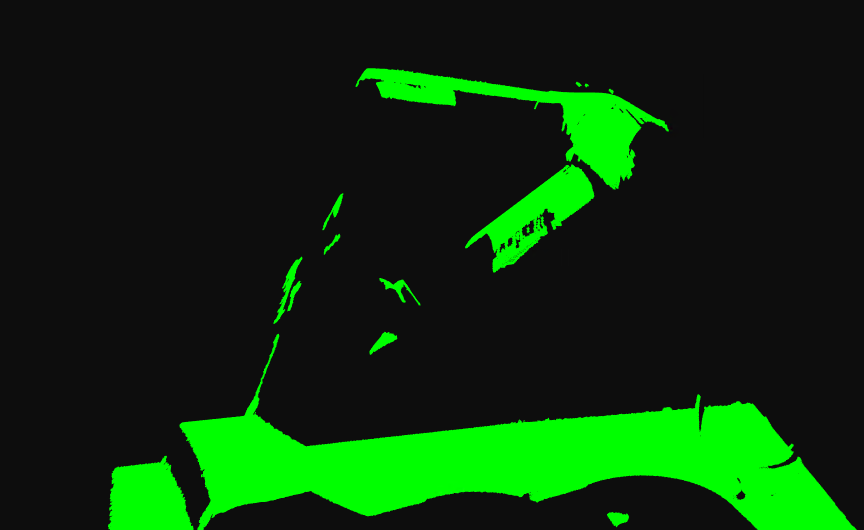
使用小区域滤波器后的点云
平滑(Smoothing)
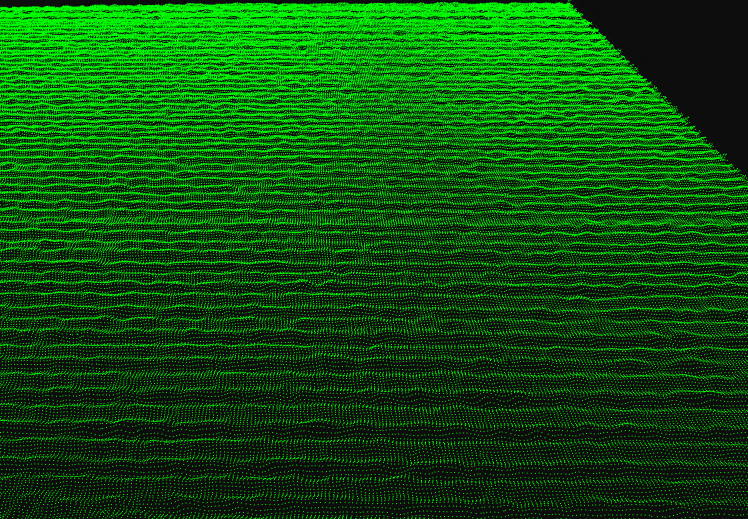
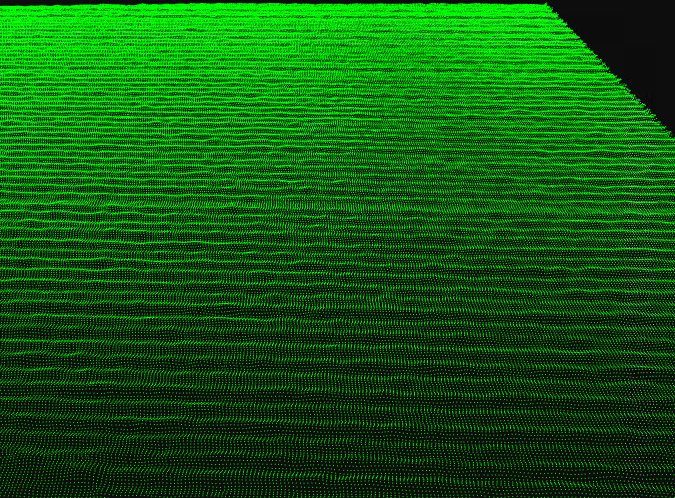
高斯滤波器 (Guassian Filter)
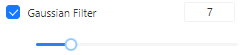
此过滤器将移动平均窗口应用于捕获图像的每个像素。 高斯核大小可以设置为 3x3、5x5、7x7、9x9、11x11 和 13x13。 这对点云应用了平滑效果,还有助于去除异常点。
未设置高斯滤波的点云
使用卷积核大小为5x5的高斯滤波后的点云
使用卷积核大小为9x9的高斯滤波后的点云
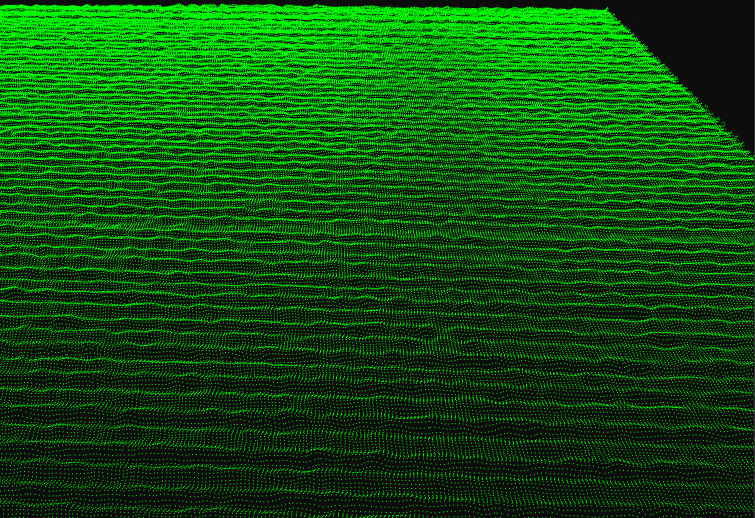
中值滤波器 (Median Filter)
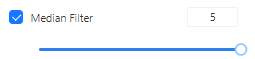
这个过滤器找到一个滑动窗口的中值来更新当前像素。 内核大小可以是 3x3 或 5x5。 这会在点上应用平滑效果并帮助去除异常点。
未设置中值滤波的点云
使用卷积核大小为5x5的中值滤波后的点云
平滑过滤 (Smooth Filter)

此过滤器是一种后处理过滤器,可将有组织的点云的深度值四舍五入到最接近的 mm。 例如,如果平滑值为 0.5,则每个深度值将四舍五入到最接近的 0.5 毫米。 此过滤器在具有噪声错误的图像导致点云上的小振荡的情况下很有用。 如果您知道模型是扁平的,并且在点云中看到了小的振荡,则可以使用此过滤器对数据进行四舍五入以创建扁平模型。
未设置平滑过滤的点云
使用平滑过滤后的点云
对比度(Contrast)
饱和滤镜 (Remove overexpose region)

此滤镜可去除曝光过度的区域。当三个 RGB 通道之一超过 255 时, 它会删除该像素。 通常, G(绿色)是第一个曝光过度的通道。使用滤镜时, 会自动选择 HDR 模式, 如果不需要, 可以手动取消。
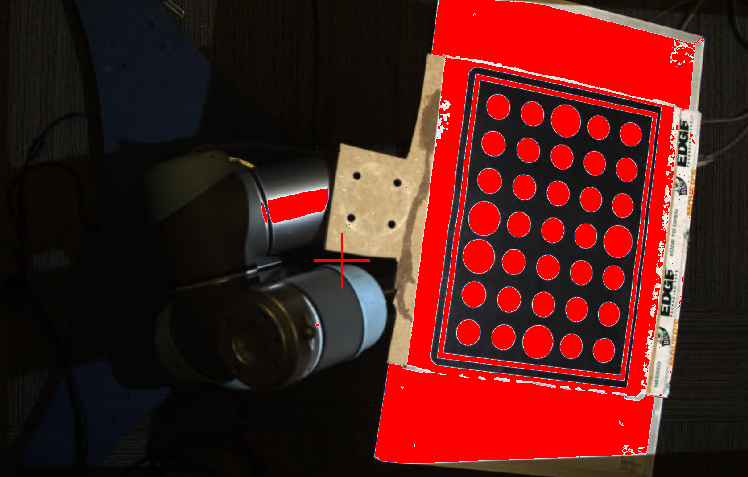
红色区域为过曝区域
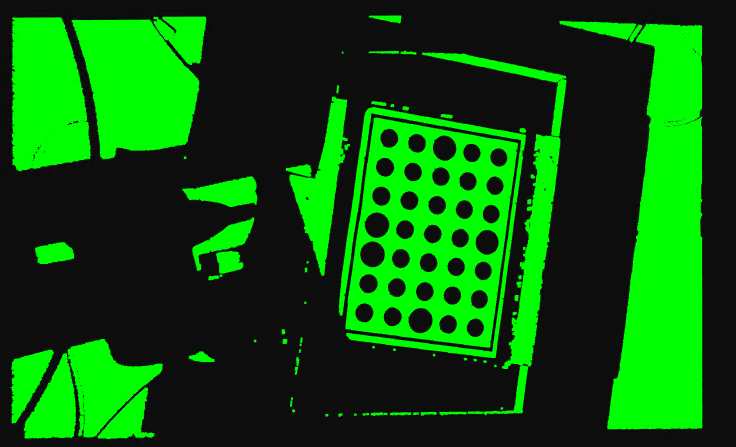
带饱和过滤器的点云
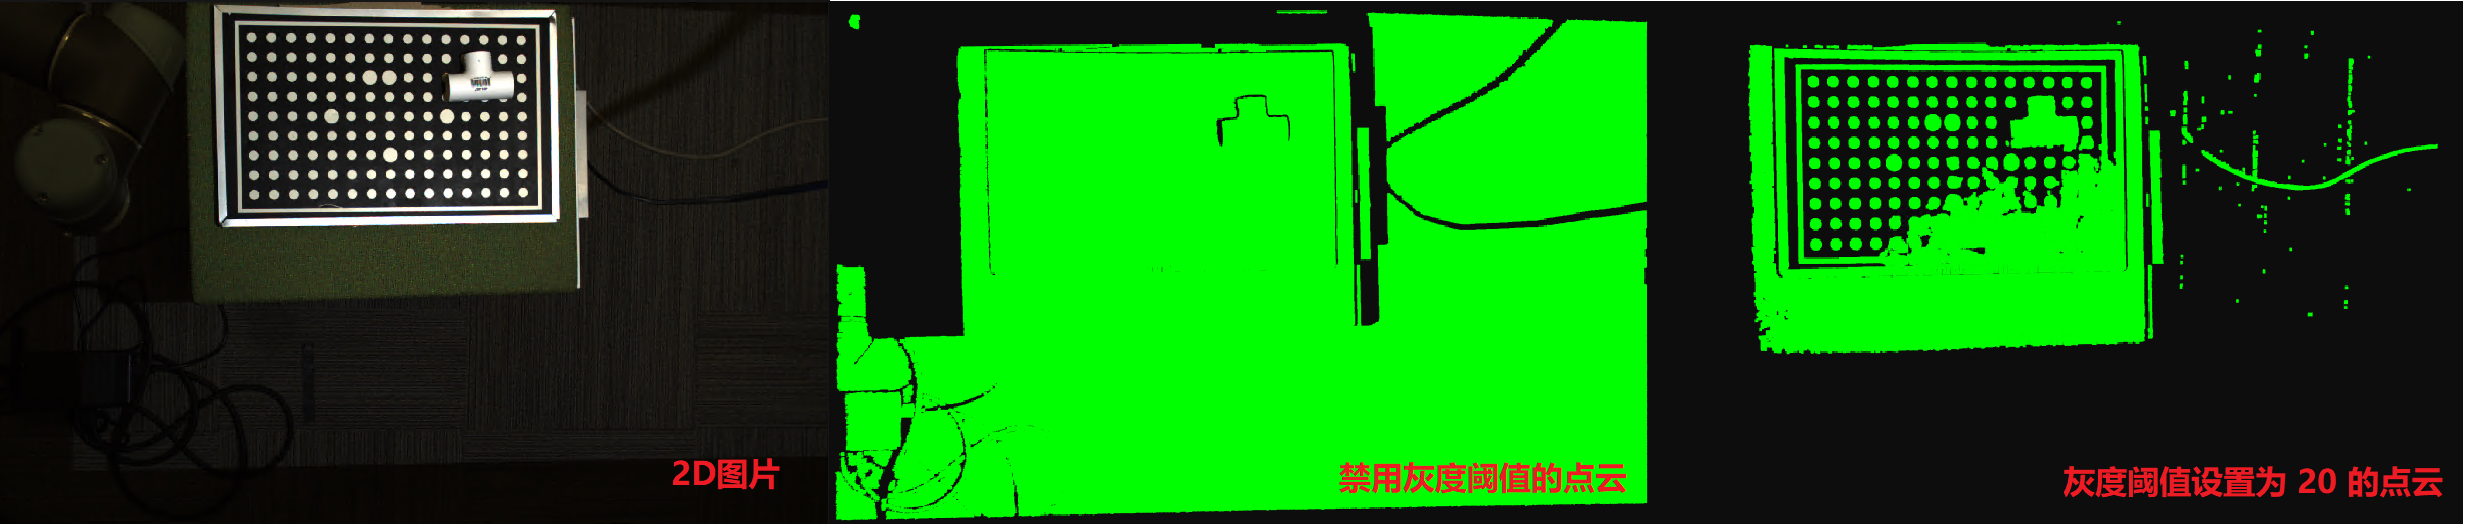
灰度阈值(Intensity Threshold)

设置灰度阈值, 灰度阈值对应着我们要过滤的平均RGB值。我们的灰度阈值是基于从捕获的四个边缘投影的平均像素强度值。小于灰度阈值的像素点会被去掉, 因为比较暗的地方信噪比低。
例如. 当灰度阈值为 20 时,最终图像中所有值 <= 20 的像素都将被过滤掉。
相位质量滤波器 (Remove low-quality region)
用于过滤掉低对比度质量的区域。可设置过滤强度, 强度越高, 去除的点云越多。 如下图, 使用强度为0.3的相位质量滤波器后, 地板处低信噪比的区域就被过滤掉了。
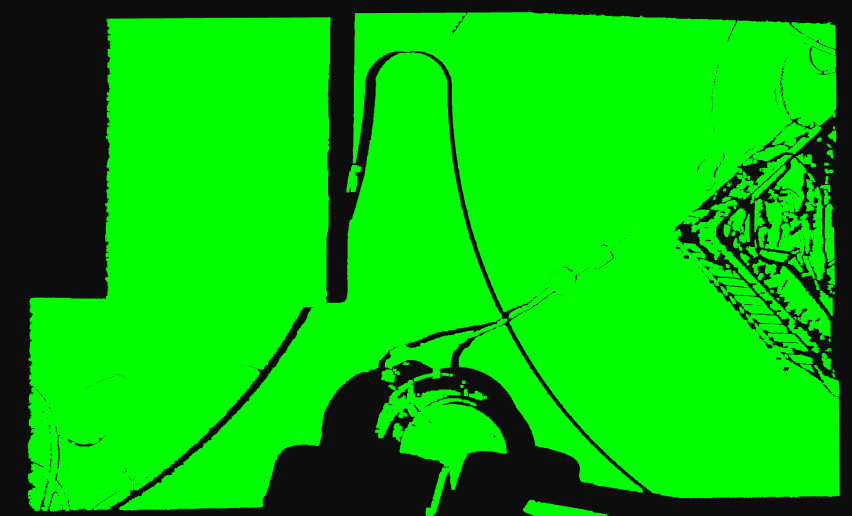
未设置相位质量滤波的点云
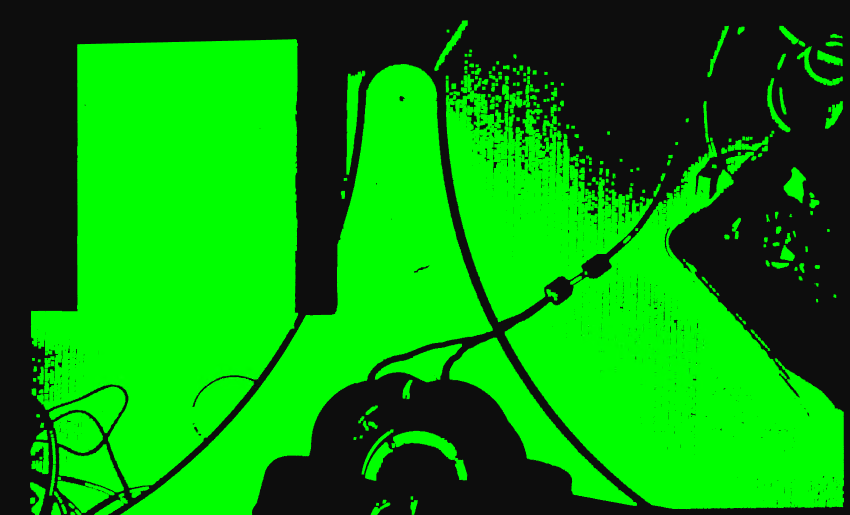
使用强度为0.3的相位质量滤波后的点云
补偿(Correction)
填补空白 (Fill Gaps)
填补满足条件的点云之间的空洞。
width指填补空洞的宽度, 当两点之间的宽度小于设定值时, 会填补两点之间的空缺。
slope指空洞两侧边缘的斜率, 当两点之间的斜率小于设定值时, 会填补两点之间的空缺。
depth指空洞两侧边缘的高度差, 当两点之间的高度小于设定值时, 会填补两点之间的空缺。
- fill order指填补的方向:
X only: 仅横向填补
Y only: 仅竖向填补
X then Y: 先横向填补, 再竖向填补。
Y then X: 先竖向填补, 再横向填补。

原始点云
空洞填补后的点云。
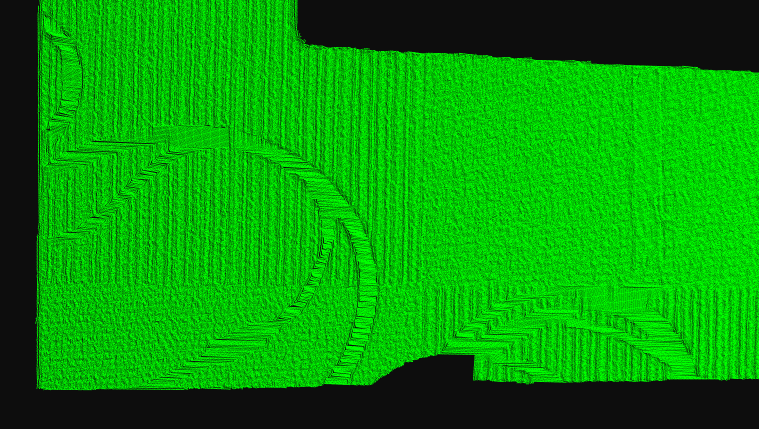
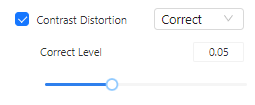
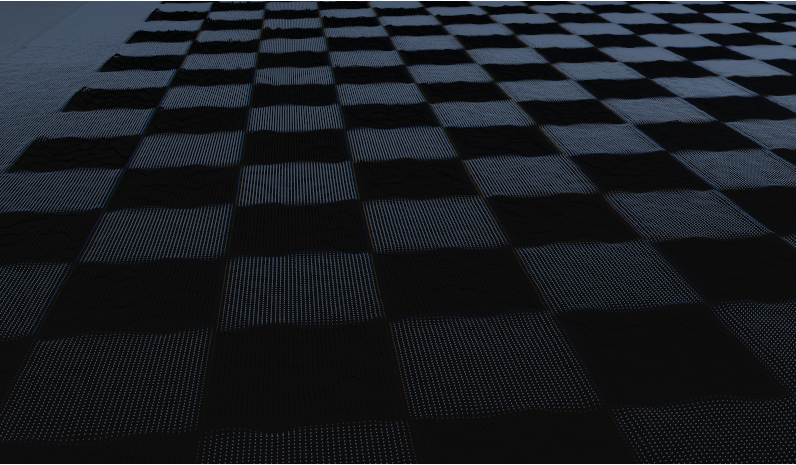
对比度失真滤镜 (Contrast Distortion)
对比度失真的发生是由于镜头中的缺陷以及衍射和色差等光学现象。 当从高吸收性表面到反射性表面(例如棋盘上的黑色到白色过渡)发生突然的对比度变化时,就会出现这种情况,这会导致 3D 点云中的测量误差。
如果选择“移除”,高对比度失真区域将从 3D 点云中移除。
如果选择“Correct”, 则由对比度失真引起的测量误差将根据用户在 GUI 上设置的“Strength”值进行补偿。 用户使用的“强度”值越高,补偿的测量误差就越多。 请注意,可能会过度补偿看起来像“相反”对比度失真的测量误差。
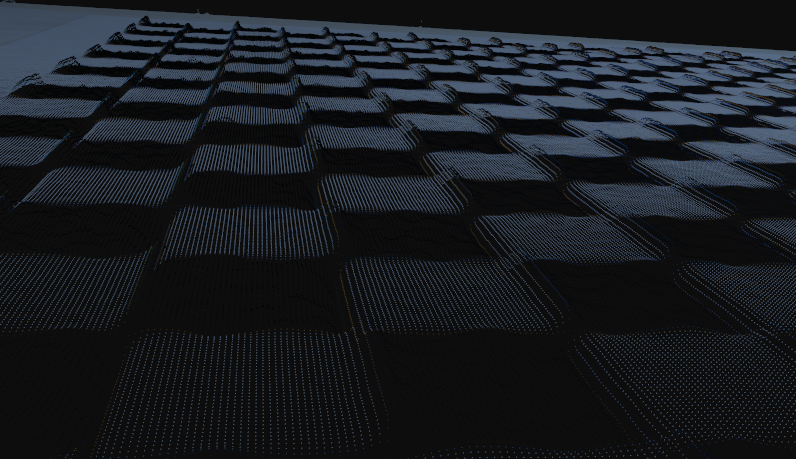
点云彩色图像(对比度失真可见)
点云绿色图像(对比度失真可见)
对比度失真使用“移除”
使用“补偿”来进行对比度失真修复